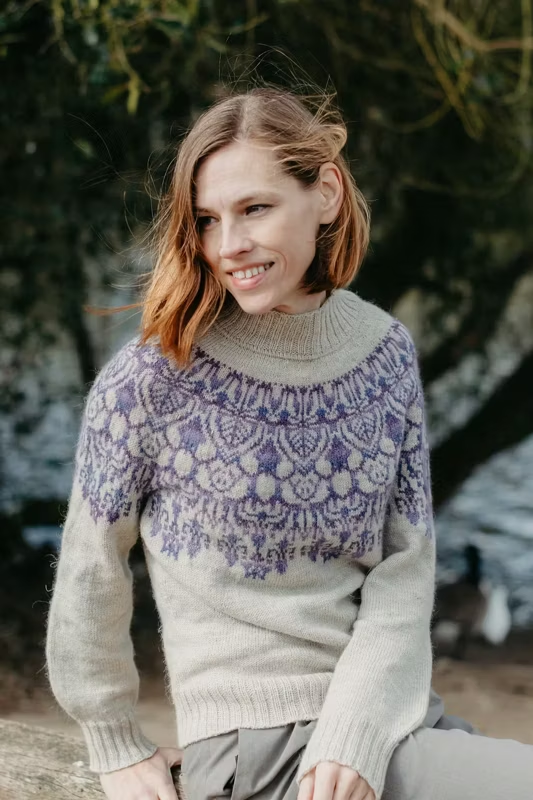
We love cardigans and pullovers. They’re cozy and comforting; when we design them, they do all the talking, so we don’t have to!
Double-knitting is a perfect choice if you’re looking for a unique and visually appealing button band. With a double-knit button band, you can achieve the look of a stockinette on both sides of the band, an excellent design feature that keeps the eyes drawn to the pattern. This type of button band can be worked for a fully open cardigan or a sweater with the right type of opening at the front, making it as functional as it is beautiful with a nice, tidy and smooth vertical buttonhole that doesn’t interrupt the pattern.
Double-knit means knitting the band back and forth while creating a double fabric. This is achieved by knitting only half of the stitches on the right side of the work and slipping the other half. Then, on the wrong side, knitting the stitches that were slipped on the right side and slipping the rest. This means you have to have double the number of stitches on the needles than the desired band width.
This method is more intricate because it involves knitting the band back and forth while creating a double fabric, requiring double the number of stitches on a needle than the desired width of the band.
I’m using this technique in two of my latest designs - the Aeternum Sweater, already published, and Amor de Verano Tee that will be published in May. Both of the patterns provide specific step-by-step instructions with stitch counts and row counts tailored to the design, so they can be worked without this guide.
This article is a general step-by-step guide on adding these double-knitted button bands to any cardigan or a button-neck pullover. Let’s get started! Materials: Knitting needles, a stitch marker, tapestry needle for tubular bind-off, buttons and as many locking stitch markers, hand sewing needle and embroidery thread for sewing on the buttons.
1. Make sure that the button bands can be added
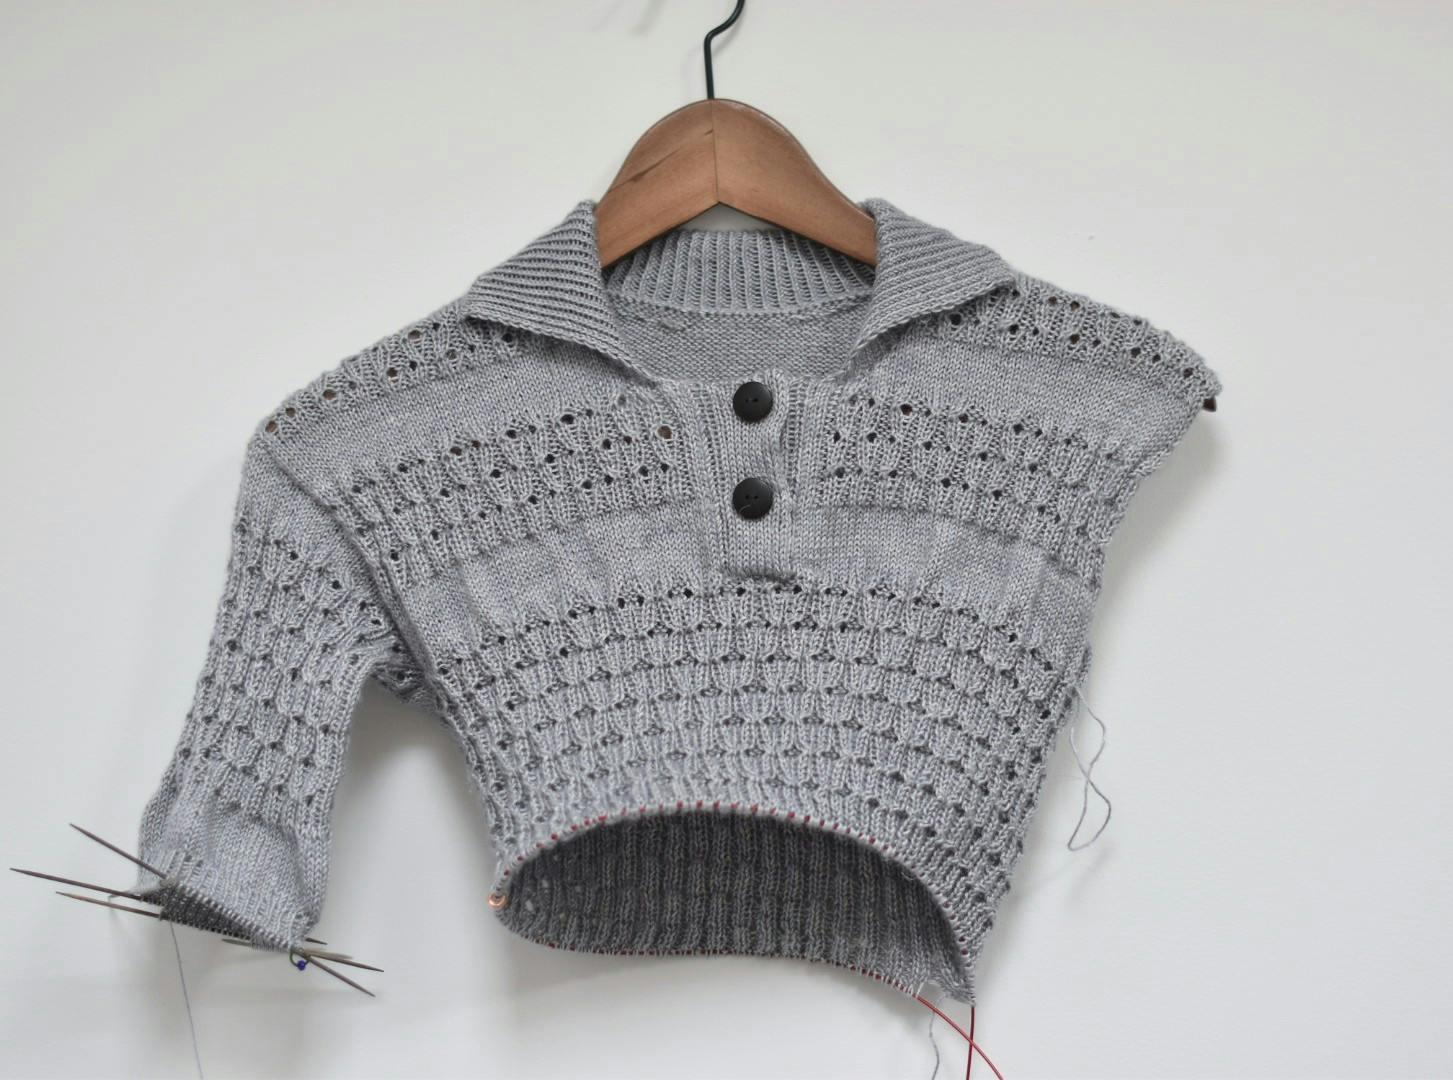
For a cardigan, nothing special needs to be done. For a pullover, there needs to be an opening as wide and long as the desired button band, with a flat base connecting the front shoulders to which the button bands can be attached. See the photo below for reference.
 *This image shows a neck opening for a button-neck sweater before a button band to show the starting points for where to pick up stitches.
2. Add the button band to which the buttons will be sewn on**2.1. Decide which side you want the buttons on. There are historic and gender-specific conventions, but remember it is a personal choice, and a button band can be placed on either side. If you want your buttons on the left side and use your right hand to open/close the buttons, start with the left button band. 2.2. Set up the side stitches for attaching the button band to avoid seaming.**Pick up stitches vertically along the sides of the front opening, picking one stitch for each row. For a cardigan, that would be the full length. These will be used to knit or purl together with the button band stitches as the band grows, joining it to the sides of the fronts without having to knit the button band separately and then seam into place
-
For the left button band, begin at (1) in the photo and work all the way to the top. Break yarn.
-
For the right button band, begin at (3) in the photo and work all the way to (2). If you’re adding this to a sweater, don’t break the yarn.2.3. Set up the button-band stitches- For a cardigan, that will be casting on double the number of stitches required for the width of the band. Tubular cast-on will give the neatest results, but even long tail cast-on will work.
-
For a sweater, that will be picking up stitches at the base of the front opening. See the edge from points (2) to (1). To get the double stitch count, instead of picking up two stitches in each of the base stitches, work a yarn over after each pick-up.
Note that it is easier to work with an odd number of stitches for this method. I typically cast on or pick up one less stitch. E.g. if my button band should be 8 stitches wide, I do 8*2-1 = 15 stitches. The rest of this guide assumes you are working with an odd number of stitches.**2.4. Set up the button band for double-knitting:**Work two setup rows to get the stitches on the needles for double knitting so that half is knit and half is slipped on each side. E.g. Repeat [knit 1, slip 1 with yarn in front] to the end of the row.
-
For the left button band, you can omit this row and jump to the next section, as the attachment happens on the wrong side of the work.
-
For the right button band, you need another setup row in which you slip the stitch knitted in the previous row with yarn in front and knit the stitch that was slipped in the previous row] to the end of the row.**2.5. Attach the button band to the side:**My preferred way is to arrange the stitches on the needle to have the base and side stitches on the same circular needle. See the photo below for reference.
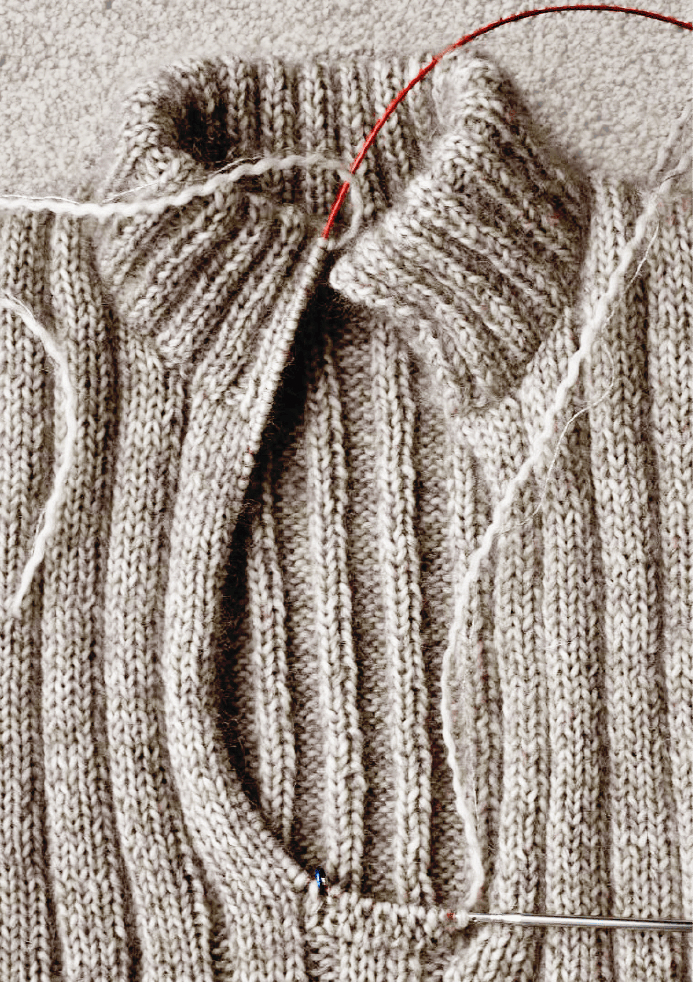
- This image shows the Right button band after the first two rows.
Alternatively, you can keep the side stitches on a circular needle and work the button band on separate double-pointed needles. This way, executing the attaching stitches might be a little trickier.
Depending on whether you’re working the left or right button band, the attaching happens on either the work’s right or the wrong side.For the left button band: - Work a wrong siderow as follows: Repeat [slip 1 with yarn in front, knit 1] to the last stitch of the row ending with a knit stitch, place a marker, p2tog with one of the first picked-up side stitches at the bottom of the left front opening
-
Work aright side row as follows: Slip 1 with yarn in the back, slip marker, repeat [slip 1 with yarn in front, knit 1] to the end of the row, ending with a knit stitch. For the right button band: - Work a right siderow: Repeat [knit 1, slip 1 with yarn in front] to the last stitch of the row ending with a slipped stitch, place a marker, ssk with one of the first picked-up side stitches at the bottom of the right front opening.
-
Work awrong siderow as follows: Slip 1 with yarn in front, slip marker, repeat [knit 1, slip 1 with yarn in front] to the end of the row, ending with a slipped stitch.
Repeat the two rows each time working the next side stitch on the needle until there is only one stitch left before/after the marker (all side stitches have been worked), and you’re at the top of the opening.**2.6. Bind-off the button band:**The nicest way to finish a double-knit button band is by using a tubular bind-off. A classical bind-off can also work, but instead of knitting the stitches that would have been slipped, knit them together with the next knit stitch before binding off.
3. Add the button band with buttonholes
Follow the same steps as in the previous section, except:3.1. After picking up the side stitches, place locking m evenly spread along the side to where you intend to make the button holes. A single buttonhole takes up 3 right-side rows (6 rows total), and there should be at least 3 right-side rows after the last buttonhole at the top. There should be a minimum of 6 side stitches from the last buttonhole marker to the top of the opening. 3.2. When you encounter a buttonhole marker, work a buttonhole by splitting the button band lengthwise in half (place a marker in the middle of the needle). Work a couple of there-and-back on each half separately before returning to work the band as one. See the video for a demo of how this is done in the Aeternum sweater [link tbc], where the buttonholes are on the left side.
4. Block your finished object
Sew on the buttons, then wet or steam block it for a pro-looking finish.
That’s it; you’ve got yourself a neat button band!